How to Debloat Windows 11 from Junk Apps?
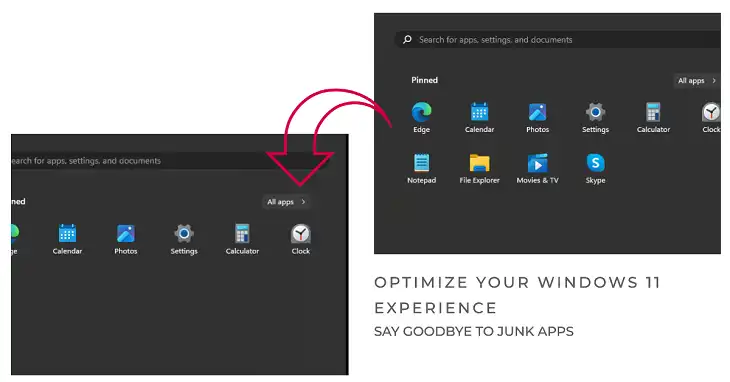
With the launch of Windows 11, Microsoft made several changes and additions to provide users with a fresh experience. However, many unnecessary default apps come preinstalled, wasting storage space and impacting system performance. Removing unused apps, also called “debloating,” helps reclaim storage, boost speed, and enhance privacy.
Debloating seems tough to many. This guide simplifies the process for you in plain language. I discuss two easy methods to debloat Windows 11 – using Powershell and a third-party app called Junkctrl. By the end, you will be able to clean install as well as existing Windows 11 systems by removing bloatware and junk apps.
So let’s get started on making your Windows 11 installation clutter-free and running faster.
Use Powershell to Debloat Windows 11 from Junk Apps
Powershell scripts allow the automation of debloating Windows with a few simple commands. Here is a step-by-step procedure to use Powershell for removing bloatware:
By Using Windows10Debloater
Windows 10 Debloater is an easy-to-use graphical interface for debloating Windows 10 and Windows 11 systems. Follow these simple steps to use this tool:
Step 1 – Download Windows 10 Debloater
Head over to the Windows 10 Debloater GitHub page and download the latest release.

Step 2 – Extract Downloaded Files
Unzip the downloaded release archive to a convenient location on your Windows 11 system.

Step 3 – Launch Debloat GUI Script
Navigate inside the extracted folder, right-click on windows10debloaterGUI.ps, and click on Run with Powershell.

Step 4 – Remove All Bloatware
On the next window, type r and press Enter. After that, the Windows10Debloater window will pop up. If you want to customize the uninstaller app list, then click on Customize blocklist. If you do not have any requirements then simply click on Remove all Bloatware, and the process will be started in the PowerShell!

By Using Windows11Debloater
The Win11Debloat tool provides an automated way to debloat Windows 11 systems with just a few clicks.
Step 1 – First, get the software from GitHub. Just search for Win11Debloat and download the full package as a ZIP file.

Step 2 – Extract it somewhere convenient after downloading completes.

Step 3 – Inside the extracted folder is an Applist.txt file. Open it up with Notepad and take a look. This contains the list of all the bloatware the tool will remove! You can edit this and comment on any apps you want to keep.

[Note – Add a hash tag (#) before any apps in the list you want to keep, to exclude them from being removed during the debloat process.]
Step 4 – Once prepped, right-click on Run.bat and select Run as administrator. Accept the security popups that show up. Then choose the default debloat mode when prompted.

Sit back while Win11Debloat does its magic. It’ll show the full list of bloatware identified to remove and confirm before deleting them from your system. Pretty neat right?
So if you want a quick way to slim down Windows 11, grab this debloater tool from GitHub. Tweak its config, run as admin, and watch as it strips all the useless fluff out!
Use Junkctrl to Debloat Windows 11 from Junk Apps
Junkctrl is a portable open-source app dedicated to removing junk apps from Windows systems, including Windows 11. Follow these steps to leverage Junkctrl for debloating
Step 1
First step is to download JunkCtrl from MajorGeeks.Just go through the link, and it will start downloading automatically. You may need to allow the download if Defender blocks it.

Strep 2
Next, extract the ZIP archive. Inside is a JunkCtrl folder with the main app – JunkCtrl.exe. Launch the app and click through any security warnings that pop up.

Step 3
On the next window, select all the options that are available there and then click on the + New Search option.

Then it will come up with all of the Junk software found on your Windows 11. Choose which junk apps you want to remove and then click on the Add everything selected to bin option.

After that, click on Uninstall and wait till the uninstall procedure is complete.

Alternatively, you can use the Skip and Use Copilot option instead of selecting by yourself! Click on Skip and use Copilot to let JunkCtrl scan your system and automatically select useless bloatware to remove. Cool right?

After that, click on Move to move the selected Junk apps to the Bin, and then click on Uninstall.

So that’s it! JunkCtrl is an awesome open-source tool you should totally try to debloat and speed up Windows 11.
Frequently Asked Questions
Is debloating Windows 11 safe?
Yes, debloating is completely safe using the discussed methods which only remove unnecessary apps. However, review app removal prompts carefully before approving.
Can we undo removed apps if needed later?
Apps removed with Powershell cannot be recovered. But apps uninstalled via Junkctrl can be restored from its undo history within 72 hours.
How much storage space can debloating reclaim?
You can recover up to 6-8 GB of disk space on consumer editions and 12-16 GB on business SKUs by removing all bloatware.
Does debloating void the Windows 11 license or warranty?
No, debloating using first-party tools like Powershell or software like Junkctrl does not violate license agreements or product warranties.
Over & Out
We went through a couple of different options – Powershell scripts, Windows 10 Debloater, Win11Debloat, and JunkCtrl.
I don’t know about you, but I found JunkCtrl to be the simplest tool for cleaning junk off my Windows 11 PC. It just required a quick download, a few clicks to select bloatware, and hitting uninstall! The rest was automatically handled, freeing up gigs of space and giving me a faster experience.
What about you – did you find these tips useful? Have you tried any other good debloating tools or methods for Windows 11? Let me know in the comments! I’d be keen to check out other options. Thanks for reading, and hope you have a bloat-free day ahead!

